Imagine the smell of fresh basil wafting through your kitchen as you prepare tomato sauce. Think of the convenience of picking a sprig of rosemary or parsley on the spot, without having to run to the store. Does it sound like a distant luxury, reserved for those with large backyards and a lot of money to invest? Not at all. The green revolution can start right now, on your kitchen wall, with a project that is not only beautiful and functional but also fits your budget. We’re talking about creating a spectacular vertical garden, a true edible paradise, for less than ten dollars. You don’t need woodworking skills or an arsenal of tools. Just a little bit of willpower and the certainty that, by the end of this project, your relationship with food and your home will have been transformed forever. This isn’t just a gardening guide; it’s an invitation to bring nature into your daily life in a way you never thought possible.
The beauty of a vertical kitchen garden goes far beyond saving money at the supermarket. It’s about the pleasure of growing your own food, of knowing exactly where what you’re eating comes from. It’s a form of therapy, a moment of pause in a busy routine to care for something living, which grows and repays your affection with flavor and aroma. And the visual impact? Undeniable. A wall that was once empty and dull is transformed into a vibrant panel, full of textures and shades of green, a living work of art that changes every day. To start this journey, you’ll need a surprisingly simple and cheap list of materials. Take note: a small wooden trellis or a perforated hardboard panel (found for about $5 to $7 in any hardware store), some small plastic pots or recycled aluminum cans (zero cost!), hooks or clamps to attach the pots (a pack costs less than $2), a bag of good quality substrate (about $2), and, of course, the seedlings or seeds of your favorite herbs. The math doesn’t lie: for less than $10, your dream of a private garden is about to become a reality.
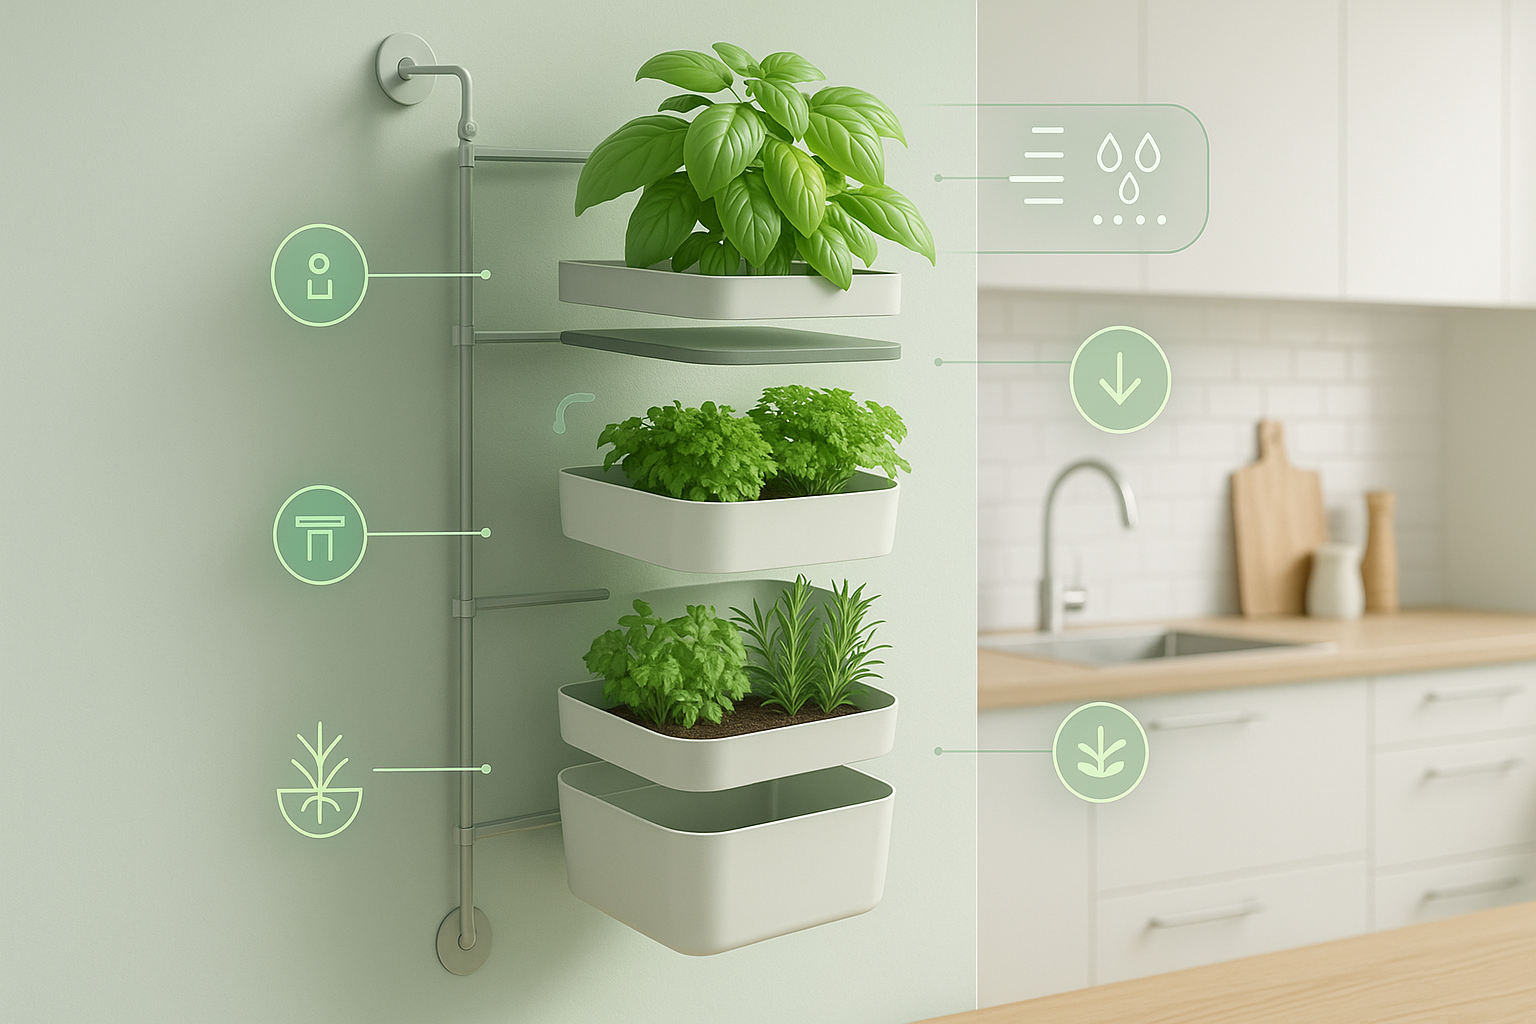
The assembly process is almost as enjoyable as the harvest. First, prepare your base. If you opted for the trellis, it’s practically ready. If it’s the hardboard panel, you can paint it any color you like to match your decor. Then, attach the hooks or clamps where your pots will hang. Now, the fun part: the pots. If you’re recycling cans, remember to make a few holes in the bottom to ensure water drainage, a crucial step for root health. The choice of containers is important, and if you have any doubts, you can check out our post that details the pros and cons of clay versus plastic pots. With the pots ready, fill them with the substrate, leaving a small space at the edge. Make a hole with your finger, place the seedling or seeds, cover with a little more soil, and water gently. Basil, mint, rosemary, parsley, chives, and oregano are great options for beginners, as they are hardy and adapt well to pots.
With your plants properly settled, just hang the pots on the structure you prepared and choose the ideal spot on your kitchen wall. Look for a place that receives indirect sunlight for a few hours a day, as most herbs love a sunbath. Maintenance is simple: water whenever the soil is dry to the touch and watch your little plants grow. In a few weeks, you’ll be able to make your first harvests. And to ensure your garden remains productive and full of life, how about giving it the best possible food? You can produce your own compost at home, cleanly and without any smell. Sound complicated? We guarantee it’s not, and we show you how in our complete guide on apartment composting using the bucket method/. By feeding your plants with an organic compost made by you, you close a perfect cycle of sustainability within your own home. Your vertical garden will not only be a decorative item or a source of herbs; it will be a vibrant ecosystem, a testament to your care, and an inexhaustible source of pride and flavor. Your next delicious meal is literally a step away.
Use the share button below if you liked it.
It makes me smile, when I see it.